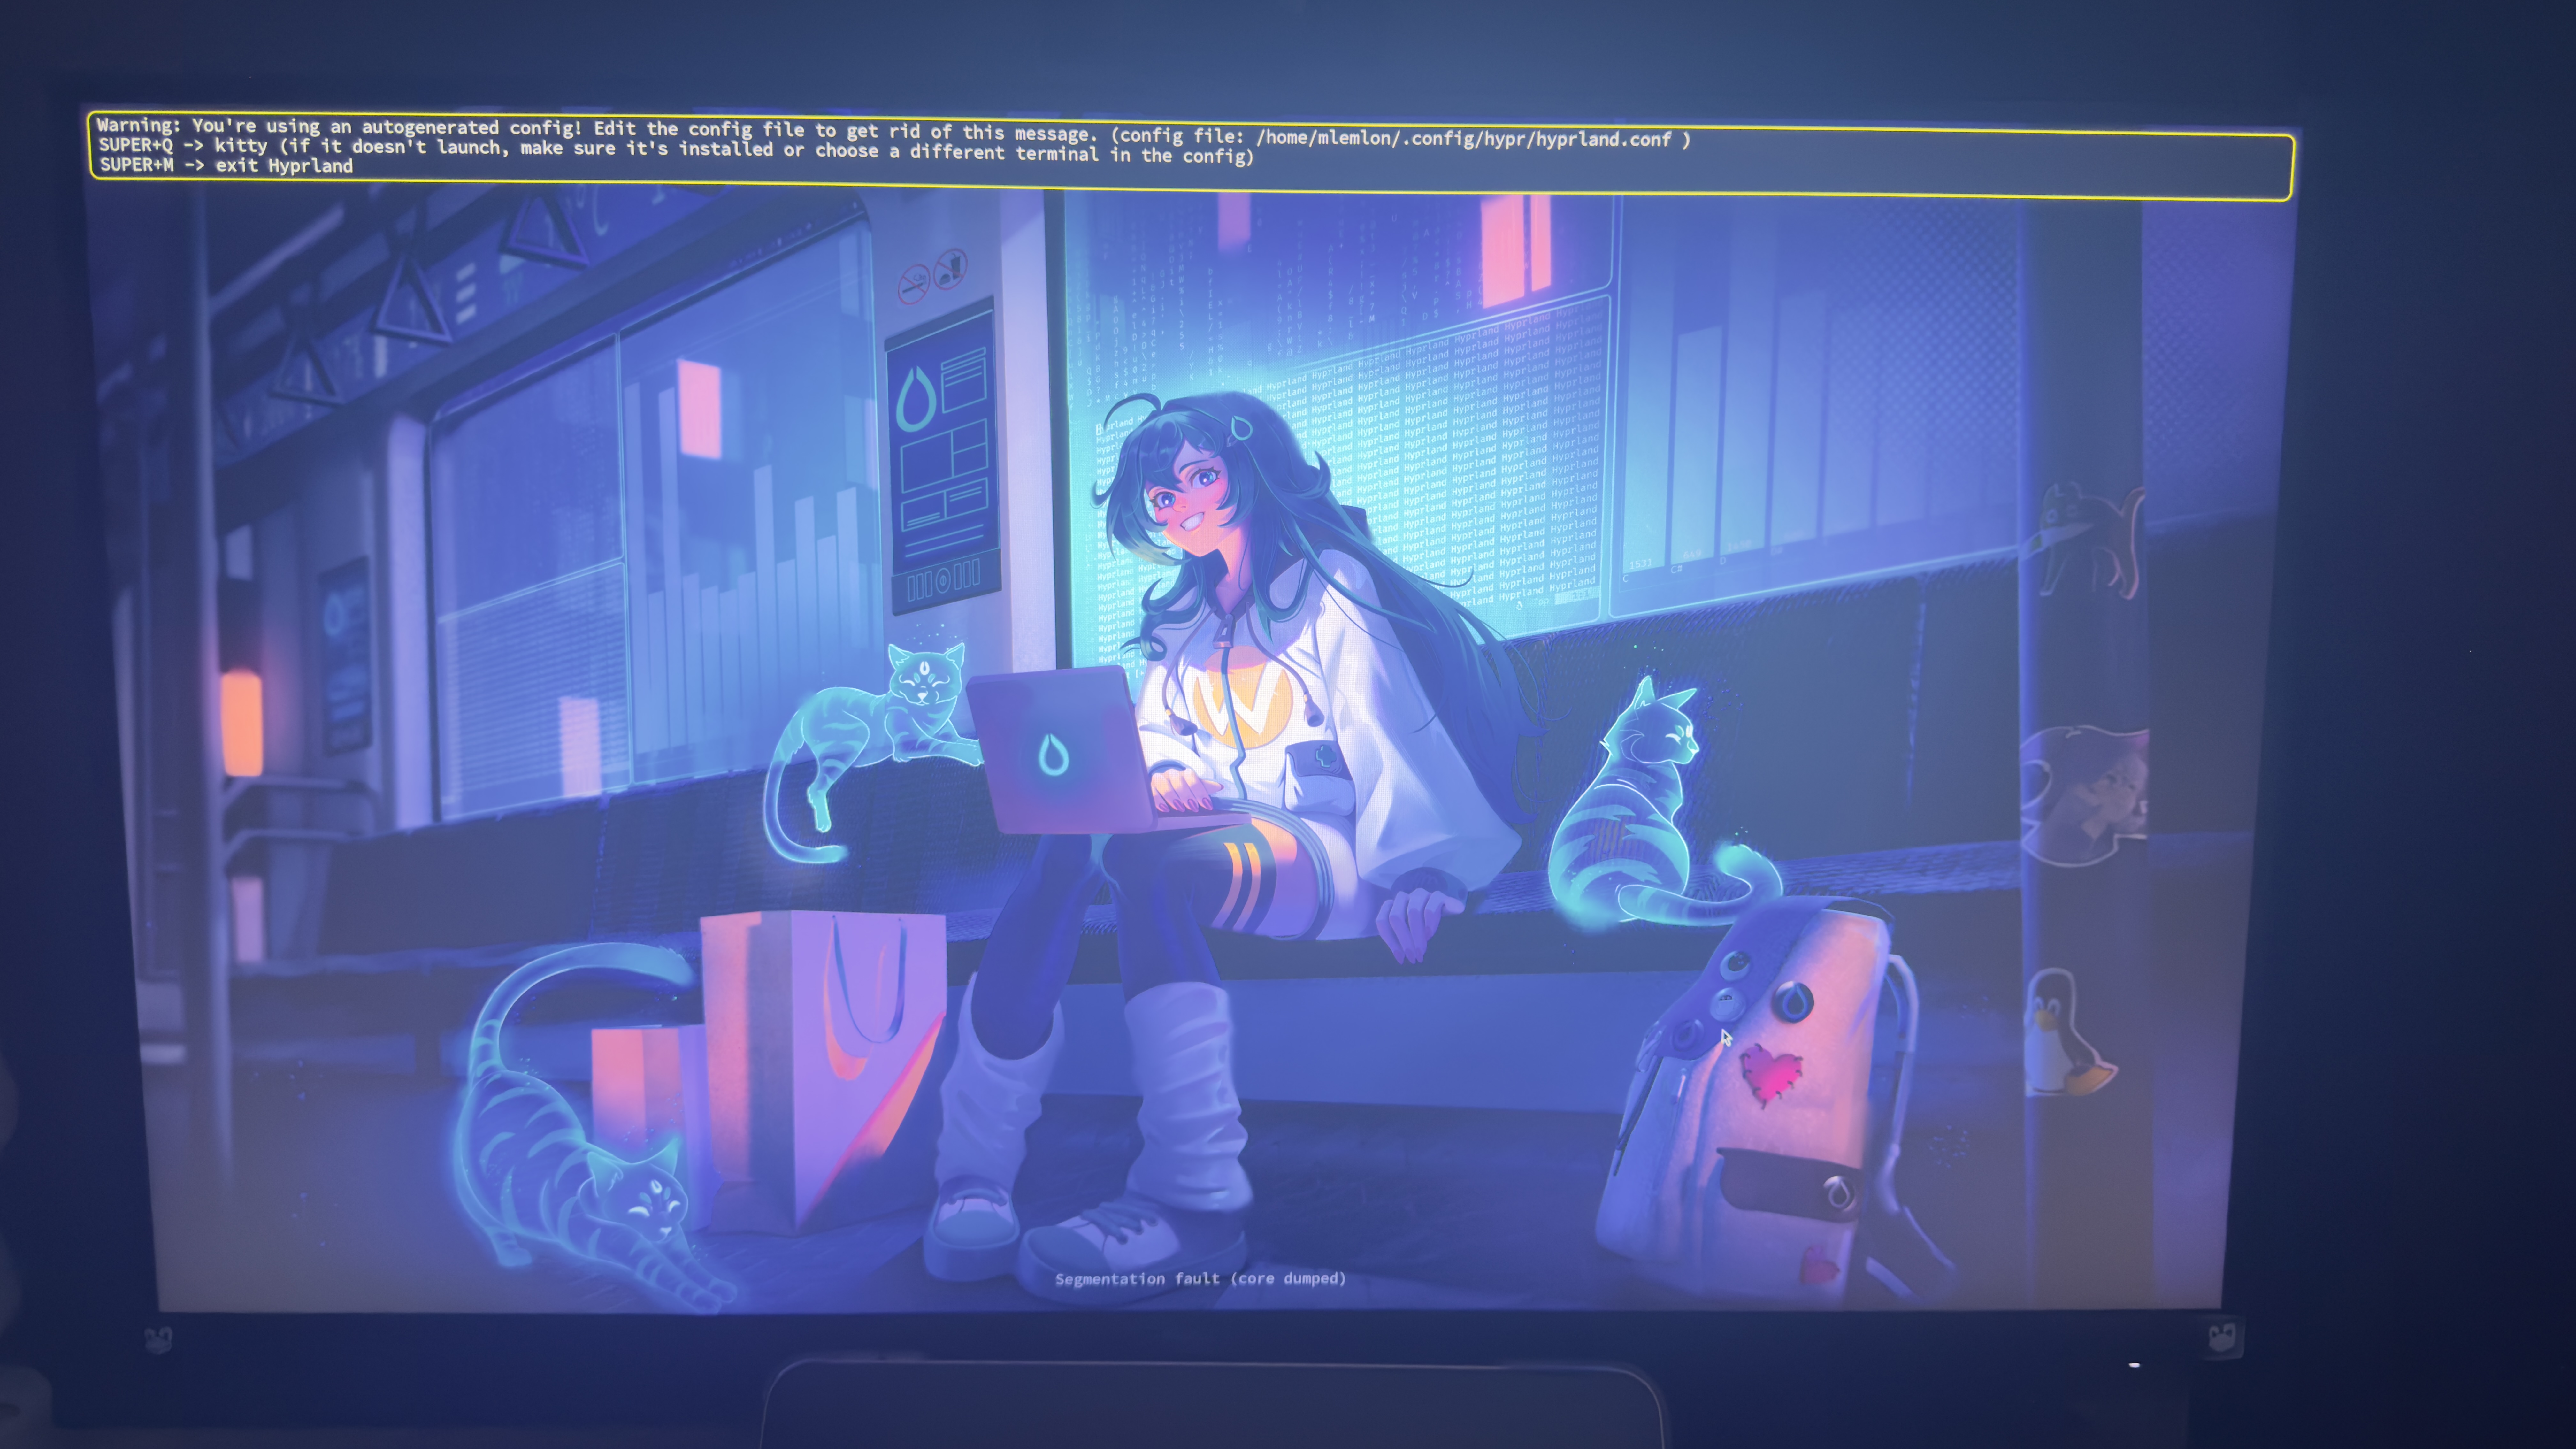
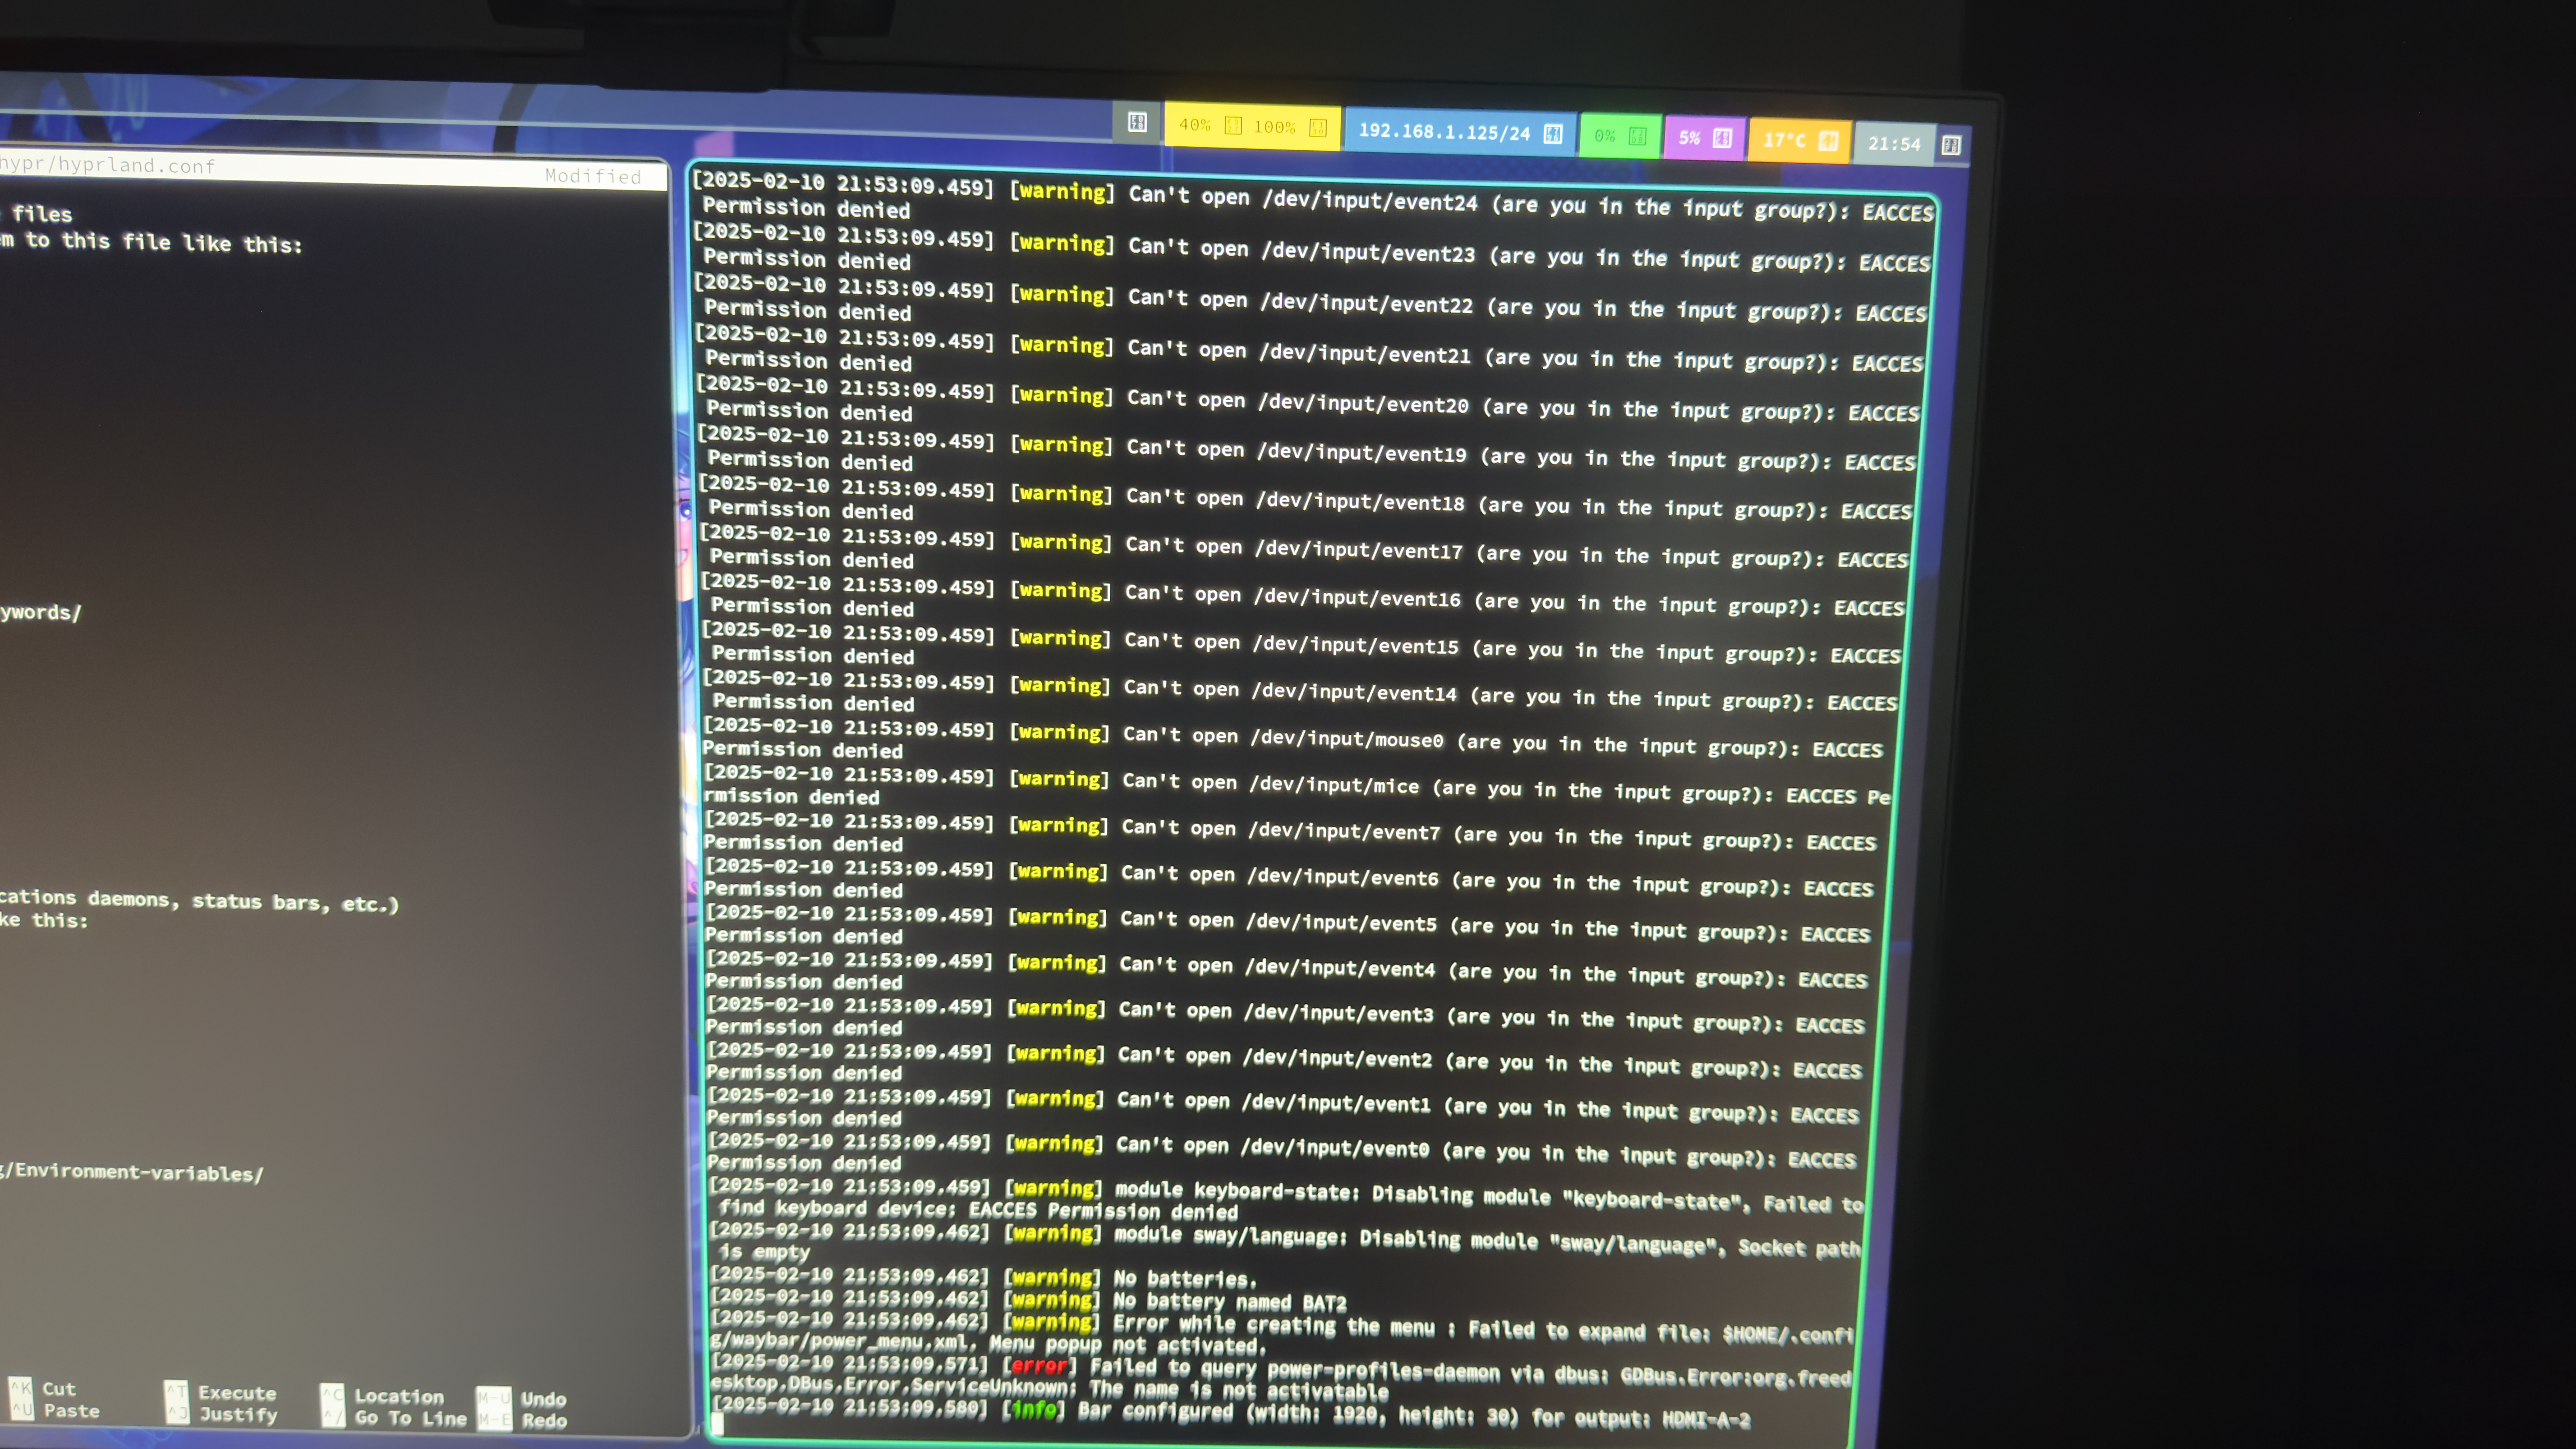
 So, I decided to try running Arch Linux with a Hyprland config called HyDE. It was a great experience, but, of course, it introduced some unnecessary bloat. Could I have just read through the documentation and removed the extra components? Sure. Am I going to rice it all by myself? Naturally!
My goal for switching to Arch Linux is to get a deeper understanding of Linux system components. I appreciate projects like HyDE, but I see them as tools for people who already understand the system and just want to get to work faster. Right now, I’m still learning how Arch and Wayland work, so it’s much more important for me to gather knowledge rather than just using pre-built templates that I won’t even read.
Arch Installation: The Journey Begins
Alright, let’s start with installing Arch. Enter Balena Etcher, the hero that gets the job done. Arch is now ready to be installed again. This time, I’m using the archinstall script. And let me tell you, it wasn’t smooth sailing. Took me four tries to get the networking to work properly!
I mostly followed this YouTube tutorial, which explains things quite clearly for us Arch noobs.
Reboot: The Black Screen Surprise
After the installation, I rebooted into my fresh system and… I’m greeted with a black screen. Classic Arch move, right? Let’s just ignore it and reboot again. Voila! The system fixes itself.
And then, I log in and — surprise! — the first thing I see is… an anime girl. At least there’s a cat, so maybe that black screen wasn’t so bad after all.

The Hyprland Config File: Getting Cozy
The fresh install came with an autogenerated Hyprland config file located under .config/hypr/hyprland.conf. Time to dig in! But first, big shoutout to Typecraft for his excellent videos on Neovim and Linux. He helped me a lot in understanding the basics of Hyprland.
Cleaning Up the Config
First order of business: Get rid of that annoying warning about the autogenerated config file. Easy enough — just delete the line:
autogenerated = 1 # remove this line to remove the warning
I also prefer to get rid of unnecessary info, like the link to the Hyprland wiki.
Monitors: Scaling the 4K Beast
I’ve got two monitors, but for now, I’m going to focus on just one. I want to force myself to learn the shortcuts instead of using all that screen real estate as a crutch. Under the #Monitors section, I adjust the scaling to make things more readable on my 4K display:
monitor=,preffered,auto,2.0
Save the file, and boom — the config is applied. No more warning messages, and the interface looks bigger and more comfortable. Nice!
Programs: Kitty, Wofi, and Waybar
Hyprland comes with a set of programs that work well with the environment, so during installation, I got tools like kitty and wofi. Since kitty is already set up and working, let’s move on to configuring Waybar.
Wofi: The Wayland App Launcher
Wofi is one of the most popular program managers on Wayland — straightforward to use. In the Keybindings section, you’ll notice that navigating around Hyprland relies heavily on $mainMod + key combinations. To launch Wofi, we use $mainMod + R.
But hey, I like to tweak things to my preferences. I’m going for a MacOS-inspired setup, so instead of $mainMod + R, I’m changing it to:
bind = $mainMod, space, exec, $menu
Wofi is perfectly usable right now, so I won’t bother ricing it further. Time to move on to the more exciting stuff.
Waybar: Adding Some Spice
First, install Waybar:
sudo pacman -S waybar
Now, run it with:
waybar
You should see something like this:
 But wait, where are the icons? No worries! Just install the missing fonts with:
sudo pacman -S ttf-font-awesome
After running waybar again, the icons should be there, and everything looks much cooler.
If you’re like me and not a designer genius, I recommend grabbing one of the example configs and tweaking it to your liking. I got mine from here. But if you’re feeling adventurous and want to make something from scratch, here’s a basic config to get you started:
Create a new folder under .config called waybar and add a config.jsonc file with this basic setup:
{
"layer": "top",
"modules-left": ["hyprland/workspaces", "hyprland/mode"],
"modules-center": ["hyprland/window"],
"modules-right": ["battery", "clock"],
"sway/window": {
"max-length": 50
},
"battery": {
"format": "{capacity}% {icon}",
"format-icons": ["", "", "", "", ""]
},
"clock": {
"format-alt": "{:%a, %d. %b %H:%M}"
}
}
If you’re on a desktop, you can remove the battery section.
Autostart: Making Life Easier
Now let’s dive into the Autostart section. Every time we log in, we can specify which programs should start automatically. In the hyprland.conf file, there’s an example:
# exec-once = waybar & hyprpaper & firefox
For simplicity, let’s uncomment that line and leave only waybar for now:
exec-once = waybar
Now, press Super + M to log out, then log back in. If everything went well, Waybar should autostart.
Final Thoughts
And that’s it for now! I’m still learning and tweaking, but Hyprland is definitely growing on me. Expect more updates as I continue my journey through the world of Arch Linux, Wayland, and, of course, cats :3